openHAB 3.0 - install and setup of a Z-Wave smart plug
Here is the continuation of my previous tutorial openHAB 3.0 - install and setup of Z-Wave devices. In the end, the test platform featured a Z-Wave controller (Aeotec Z-Wave Z-Stick) and a sensor (FIBARO Motion Sensor +). Today we will add a connected FIBARO System FGWP102 plug Metered Wall Plug Switch.
Here is my setup for this tutorial. Using BerryBoot doesn’t change anything; it just allows me to have multiple OS on my Raspberry.
- Raspberry Pi 3 B+ running openHABian 1.6.1
- BerryBoot 2.0 to boot different OS installed on an external USB hard drive
- openHAB 3.0 installed via openhabian-config
- USB Z-Wave controller → Aeotec Z-Wave Z-Stick, Gen5 Z-Wave Plus - ZW090
- Z-Wave smart plug → FIBARO System FGWP102 Metered Wall Plug Switch
Z-Wave sensor → FIBARO System FGMS001-ZW5 Motion Sensor+(not used today)
Like until now, all steps were carried out via the openHAB3 graphical interface.
Setup of the Z-Wave smart plug
Following my previous tutorial, I was very confident. Maybe overconfident ? In any case, I immediately encountered a lot of difficulties simply to get the red Inbox button displayed on the Thing corresponding to the Z-Wave controller. The plug was well awake, it was well paired with the controller (color of the diodes when connected), etc. But nothing helped; the plug seemed to be well connected to the controller, but it was impossible to “mount” this new device under openHAB !
After many attempts I finally understood what was going on. This device had already been used in previous experiments. So the plug had been associated. However, it seems that the controller, when powered up, only “notifies” about new devices, in other words the newly associated devices. So all I had to do was, using the buttons on the controller and the plug, to dissociate the smart plug properly and then to associate it again. Tada ! The red Inbox button appears on the Thing of the Z-Wave controller ;-)
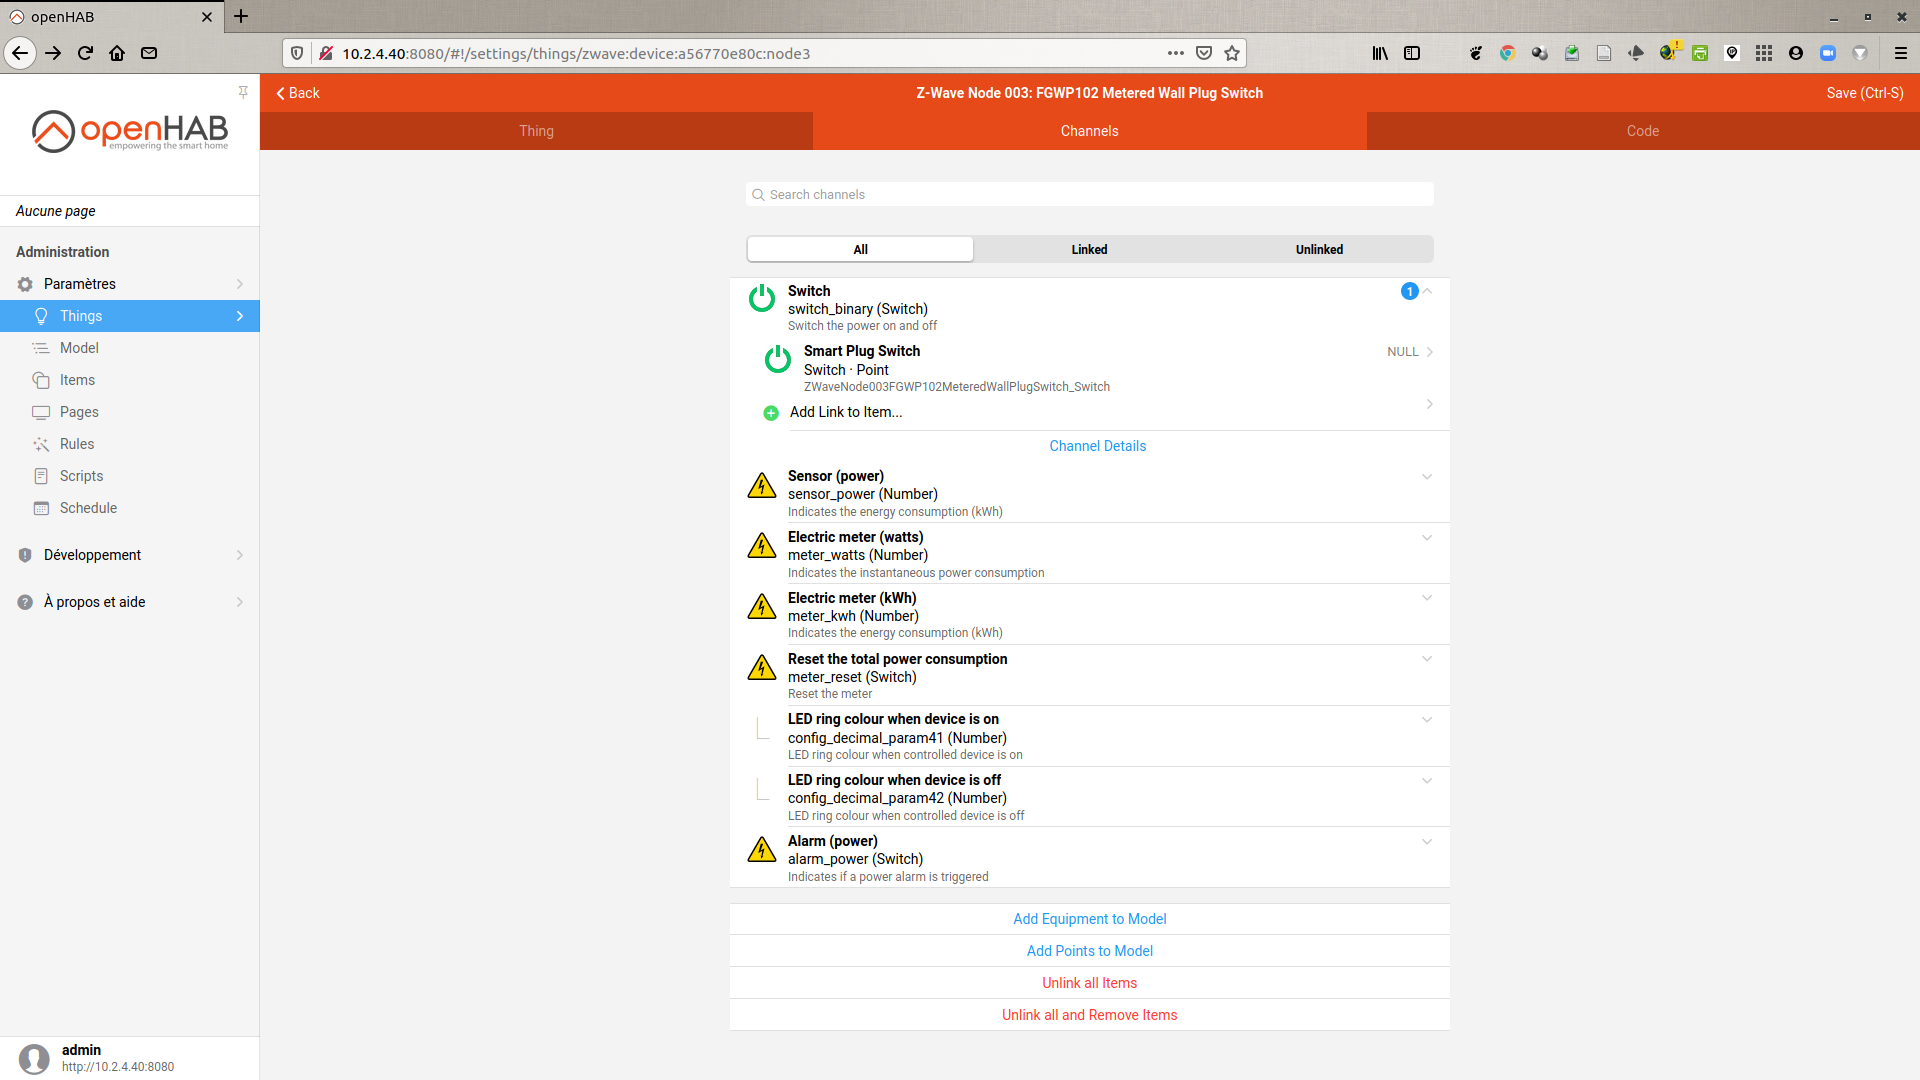
We click on it and add the smart plug as Thing. It then appears in the Things list.

You can then access all of its configuration parameters as well as its Channels.

Creation of a switch item to control the plug
We select the Channel Switch, then Add Link to Item. We choose to Create a new Item which we will call Smart Plug Switch. We validate by clicking on Link.


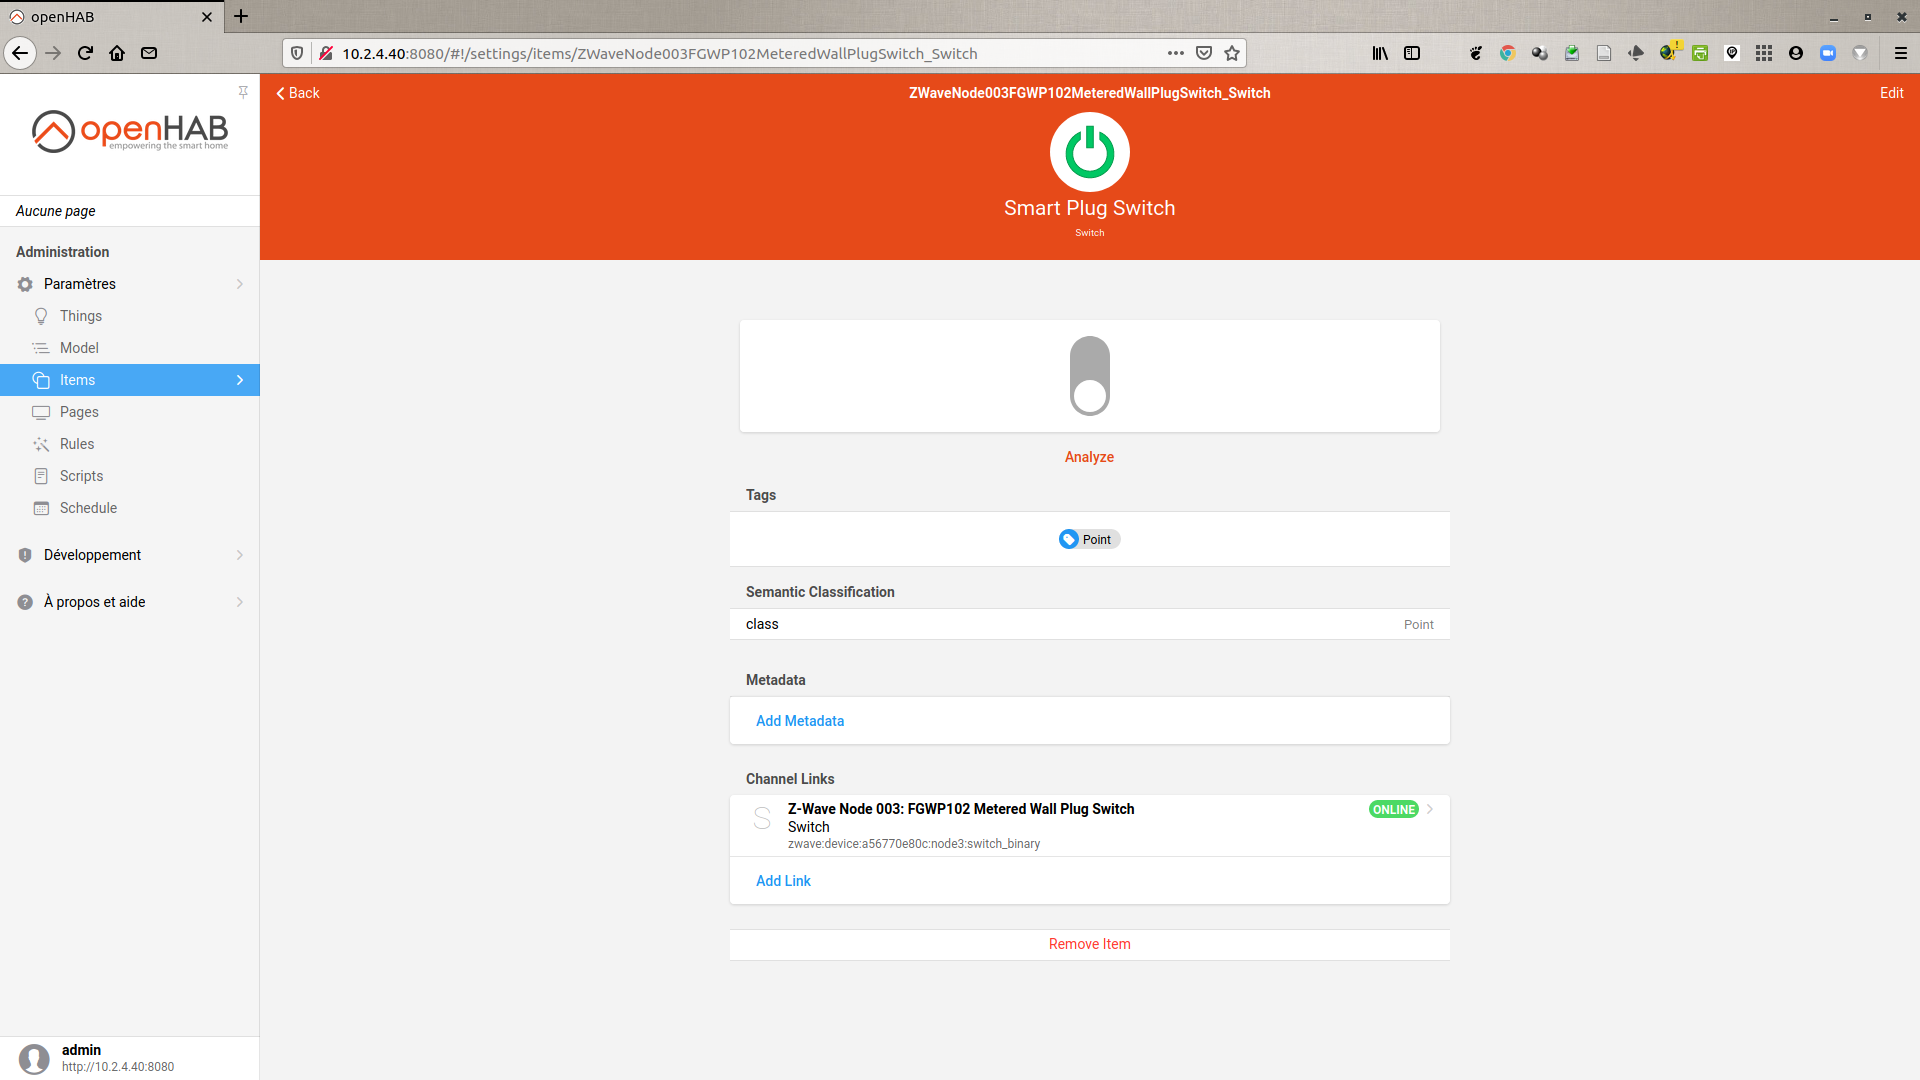
This new Item appears on the Channels of the Thing corresponding to the Smart Plug.
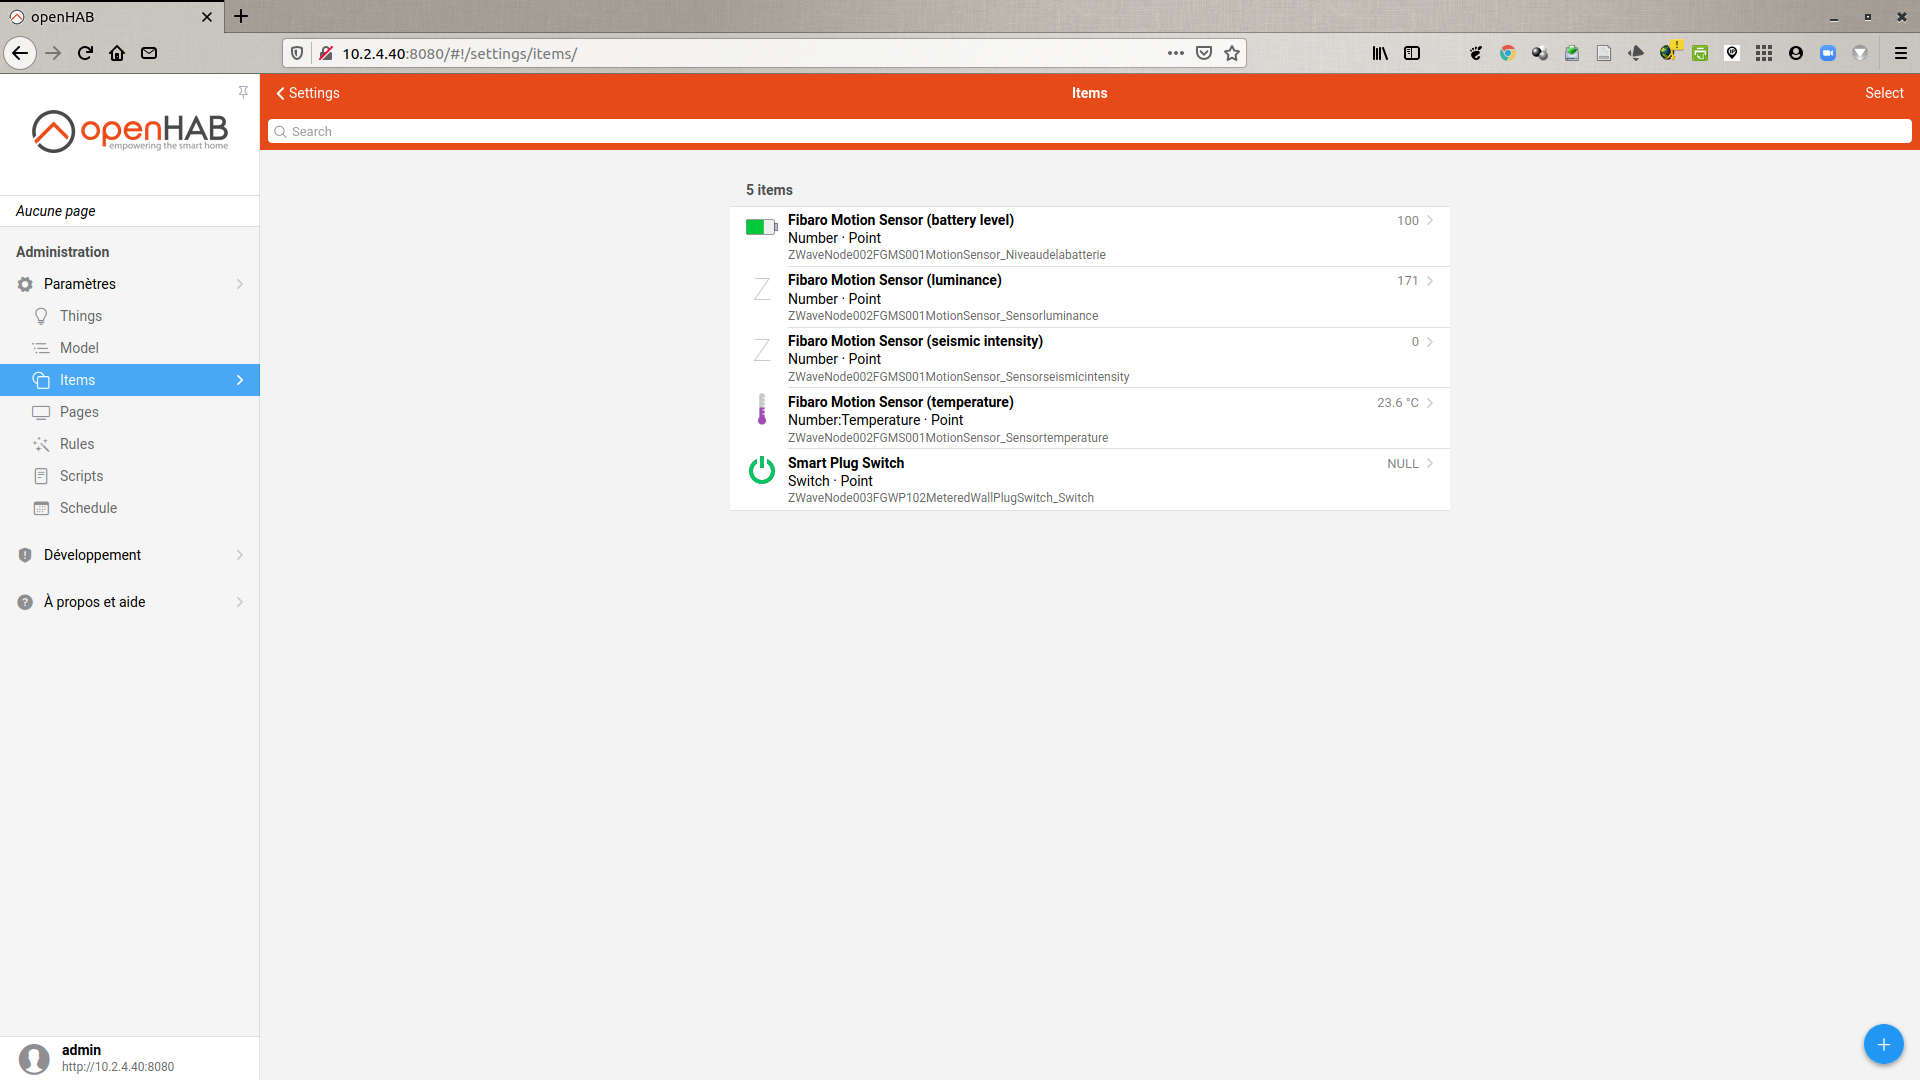
The switch item of the Smart Plug then appears in the list of Items.
Tests
We can now operate this Switch on the openHAB interface to control the Z-Wave smart plug (ON / OFF). Beyond the indications provided by the diodes on the plug, a fan is used to confirm the power on/off ;-)

And There you go !
Conclusion
This is how I managed to configure a FIBARO Metered Wall Plug Switch on my Z-Wave installation under openHAB 3.0. If you have any comments or suggestions, don’t hesitate to contact me on manuel.munier@univ-pau.fr.
Next step:
- based on my previous tutorial (openHAB 3.0 - update of an item via MQTT messages), remotely control this smart plug by sending it MQTT messages.